2 quart Bean Pot with diamond texture. Sold
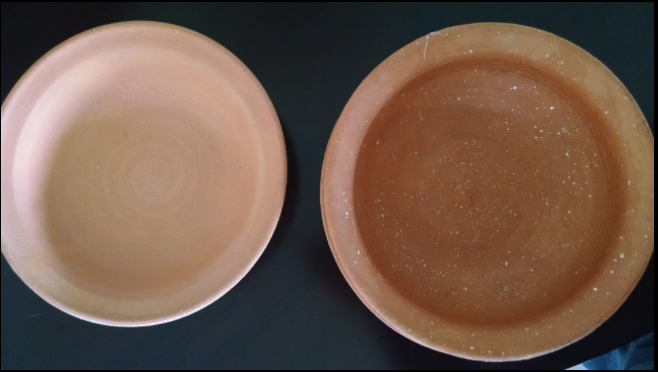
MICA bowls before and after usage. When using your mica-pot you will notice that the clay absorbed the oils and flavors of the food you cook, your pot becomes a reflection of the food you cook.Can you see the MICA sparkles? (Sold)
Large Oblong Gratin Pan with textured rim. Besides gratins this is a great pan for roasting vegetables or making half of a sheet pan recipe. Inside measurement 12 x 8. Had been $90, now $65
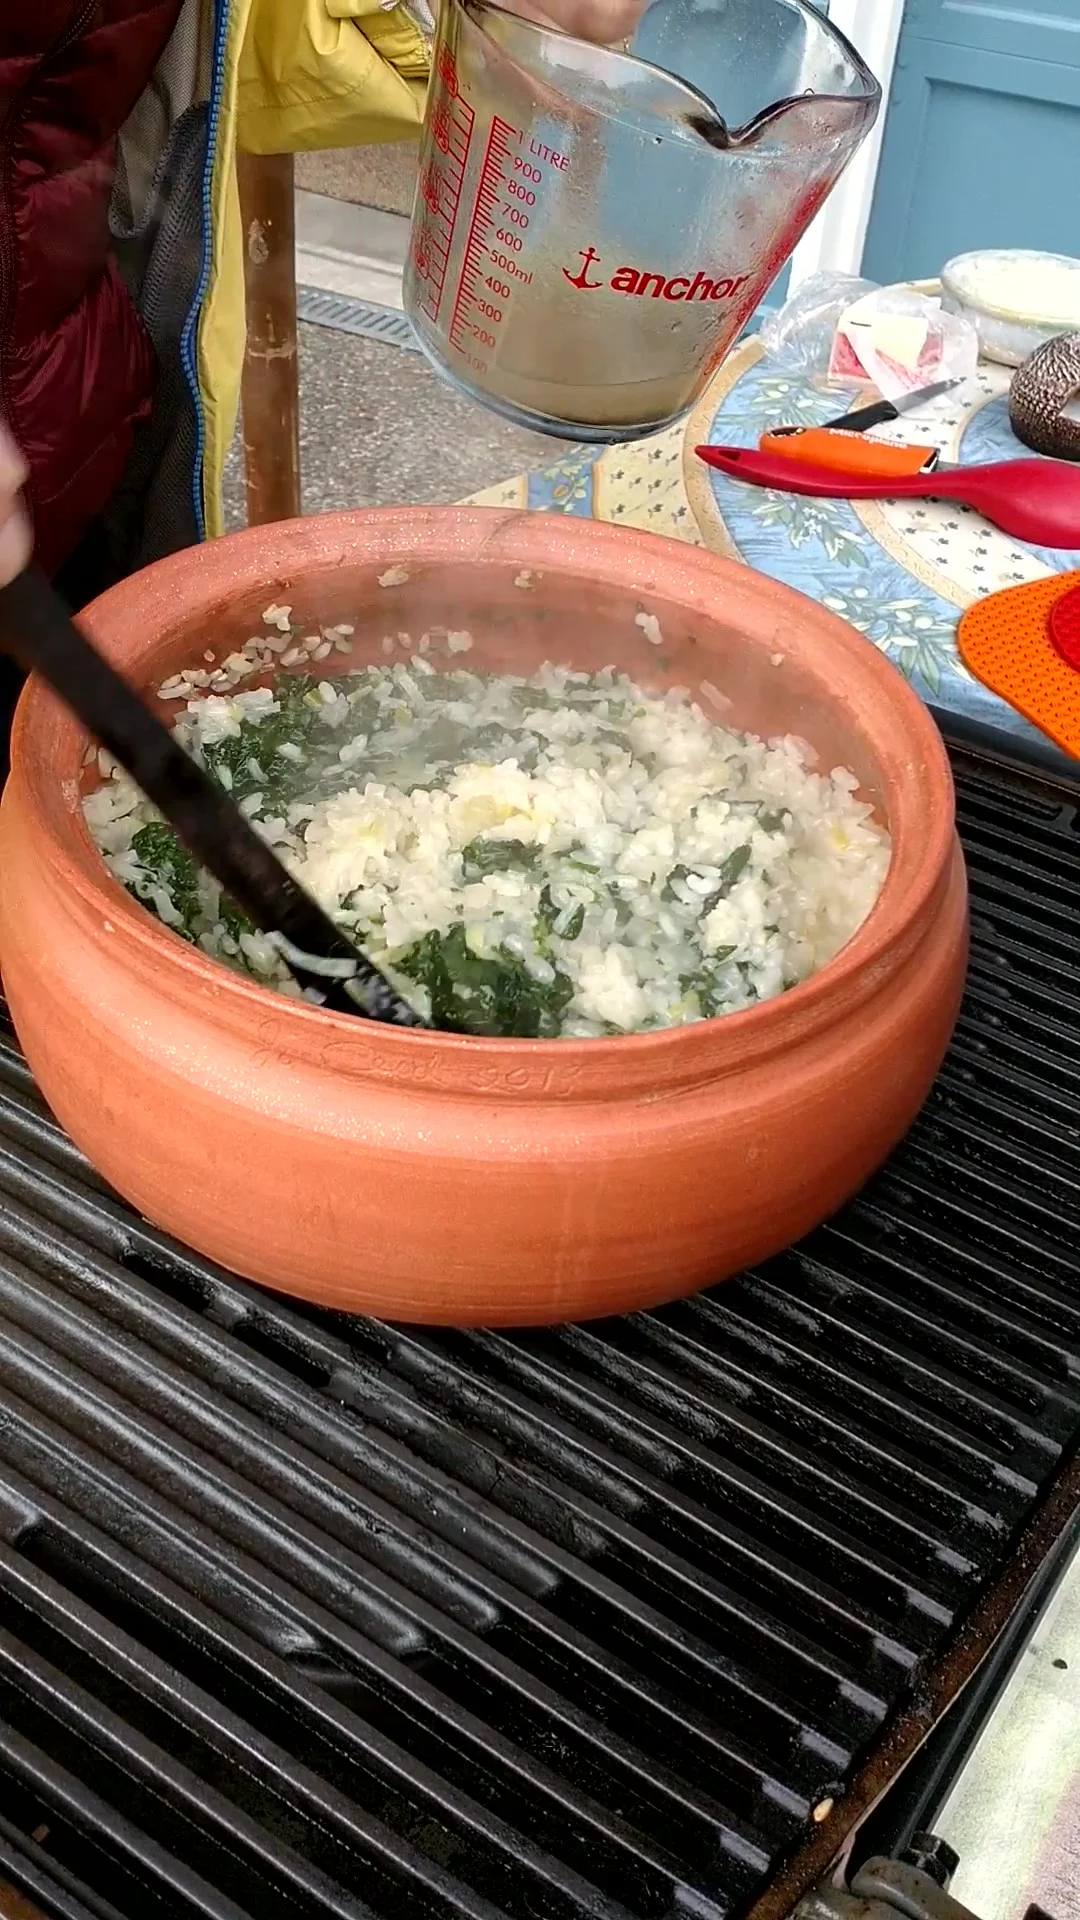
Making spinach risotto in a dutch oven on a propane grill.
Using Mica-ware pots:
LOW AND SLOW - Any sudden change of heat will crack the pot: Don’t add cold liquid to a hot pot, don’t set hot pot on a cold surface (cushion with some towels). See notes below on healing cracks.
COOL FACTORS: The handles , knobs and rims of Mica-ware pots remain cool to the touch, even will on the burner or in the oven. Cooking with dried beans in mica-ware pots makes for more tender beans. Enjoy!
•Microwave: Mica-pots are not microwave compatible.
•Open flames: Mica-pots are suitable gas stoves grills and campfires without a diffuser.
•Maximum temperature: Low simmer (medium low on most gas stoves)
•Electric burner or glass stovetop, a diffuser MUST be placed under the pot to protect it!
•Oven: Micaceous pots are safe for all standard oven baking.
•Broiler: Do not place it directly under the broiler.
Cleaning Mica-ware pots:
Hand wash only, Mica pots are not dishwasher compatible. Use a soft cloth to clean the pottery with warm water and baking soda. Rinse with warm water and dry with a soft cloth. Lightly coat the pottery inside and outside with oil. Store the pottery in dry location. Warning DO NOT use soap or metal abrasives. Soap will absorb into the walls of the pottery and can cause cracking. Soap will destroy the seasoning of the pottery. Metal abrasives will scratch the pottery. Do not soak the pottery in water.
Healing minor cracks:
Causes: Minor surface or hairline cracks may show up on the bottom, and it’s normal for this to happen and shouldn’t affect the functioning in any way. Other deeper cracks could happen rarely and only if the pot has been exposed to prolonged periods of high and/or uneven heat, or if there were no liquids in the pot and the food inside got very dry. This does not necessarily mean you had put it on high but some stoves regardless of the setting just burn high or generate a lot more heat, so it helps to know your stove a little and avoid those burners that may heat too fast or burn too high.
These cracks can be ‘healed’ by doing the following: Thoroughly clean the pot with water and baking soda and wipe it dry with a cotton cloth, set it aside to dry for about 5-10 minutes (if pot is already clean and dry skip this step). Then apply some oil or butter (any cooking oil, like olive, coconut, vegetable, and sesame seed), apply thoroughly with your hands onto the full surface of the pot, both inside and outside and heat it in the oven at 250 D F for 25-30 minutes. Turn the oven off and let the pot cool down slightly before taking it out. Take it out and let it sit for 2-3 days for the crack to fully heal. This process can heal cracks about 97% of the time and can also be done to strengthen the pot, if you ever experience the pot chip. When using your pot after this process, cook on low heat only for 3-4 times and cook recipes that are semi-dry or those that turn thicker in the end like stews, soups etc., for those first few times.
A crack can also be healed using this method (method 2): Make a paste with 2 tsp water + 1 tsp flour. It can be any whole grain or other flour. Now wash the pot thoroughly and apply the paste on the outside and inside of the pot along the line of the crack and spread it slightly to the surrounding area. Let the paste dry slightly, then use the pot for cooking. When the pot is heated the clay platelets come together and the paste will seal the crack. Wait for the pot to completely cool down before washing it. You can repeat this process one more time if you still see liquids leaking from the crack, but in most cases, doing this one time should seal and heal the crack quite well


